Lincoln Navigator: Front End Body Panels / Fender. Removal and Installation
Special Tool(s) /
General Equipment
Removal
NOTE:
Removal steps in this procedure may contain installation details.
NOTE:
LH side shown, RH side similar.
-
Remove the fender splash shield.
Refer to: Fender Splash Shield (501-02 Front End Body Panels, Removal and Installation).
-
Remove the fender insulator.
-
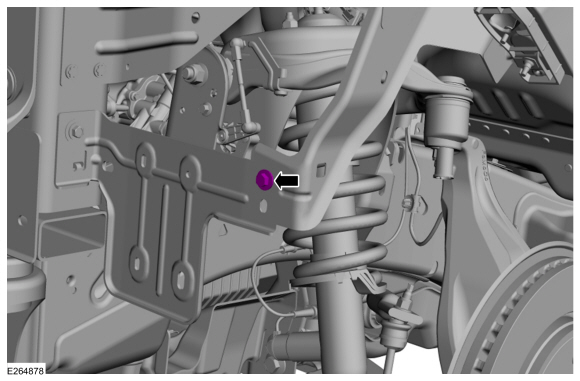
Remove the inner fender bolt.
Torque:
80 lb.in (9 Nm)
-
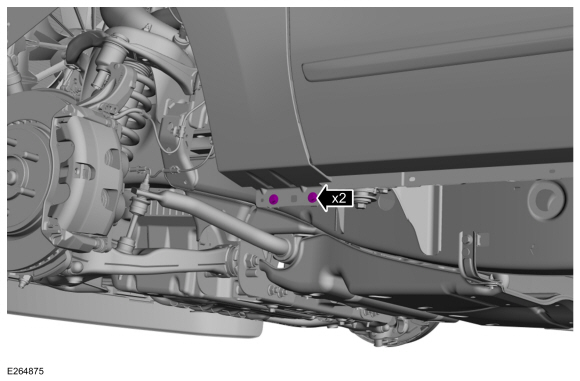
Remove the lower fender bolts.
Torque:
80 lb.in (9 Nm)
-
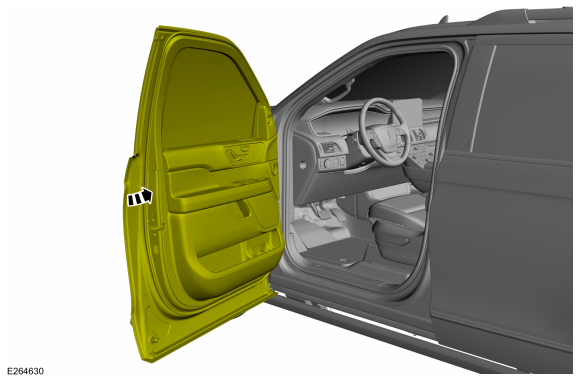
Open the front door.
-
Remove the bolt.
Torque:
44 lb.in (5 Nm)
-
Close the front door.
-
Lift the corner of the cowl panel grille and remove the bolt.
Torque:
80 lb.in (9 Nm)
-
Remove the headlamp assembly.
Refer to: Headlamp Assembly (417-01 Exterior Lighting, Removal and Installation).
-
Remove the fender fill cowl panel.
-
Remove the fender bolt.
Torque:
80 lb.in (9 Nm)
-
Using a knife, cut the foam sealant between the fender and the body.
Use the General Equipment: Knife
-
Remove the bolts and the fender.
Torque:
80 lb.in (9 Nm)
-
NOTE:
This step is only necessary when installing a new component.
Release the clips and remove the fender baffle.
Installation
-
To install, reverse the removal procedure.
NOTICE:
Support the engine rear undershield while the fasteners
are being removed and installed. Do not support the engine rear
undershield by any less than the total number of fasteners at any time...
Removal
NOTE:
LH side shown, RH side similar.
Remove the wheel and tire.
Refer to: Wheel and Tire (204-04A Wheels and Tires, Removal and Installation)...
Other information:
Diagnostic Trouble Code (DTC) Chart
Diagnostics in this manual assume a certain skill level and knowledge of Ford-specific diagnostic practices. REFER to: Diagnostic Methods (100-00 General Information, Description and Operation).
Module
DTC
Description
Action
BCM
B1277:11
Reverse Lamp: Circuit Short To Ground
GO to Pinpoint Test A
BCM
B1277:15
Reverse ..
Special Tool(s) /
General Equipment
Interior Trim Remover
Removal
NOTE:
Removal steps in this procedure may contain installation details.
Release the clips and emove the center finish panel.
Disconnect the electrical connector.
Use the General Equipment: Interior Trim Remover
Remove the ..


 Engine Rear Undershield. Removal and Installation
 Fender Splash Shield. Removal and Installation
 205-123
(T78P-1177-A)
205-123
(T78P-1177-A)
 308-047
(T77F-1102-A)
308-047
(T77F-1102-A)